Prep Time, Curing Time, and Yield
- Prep Time: ~45 minutes
- Cure Time: 4–6 weeks
- Total Time: ~4–6 weeks + 45 minutes
- Yield: About 9–10 standard soap bars (depending on mold size)
Introduction: Why Make Cold Process Soap?
I still remember the first time I made my own soap. I was worried about lye, but I was more excited about using oils I trusted. Weeks later, my friends were asking to take bars off my hands — something about that creamy lather hooked them.
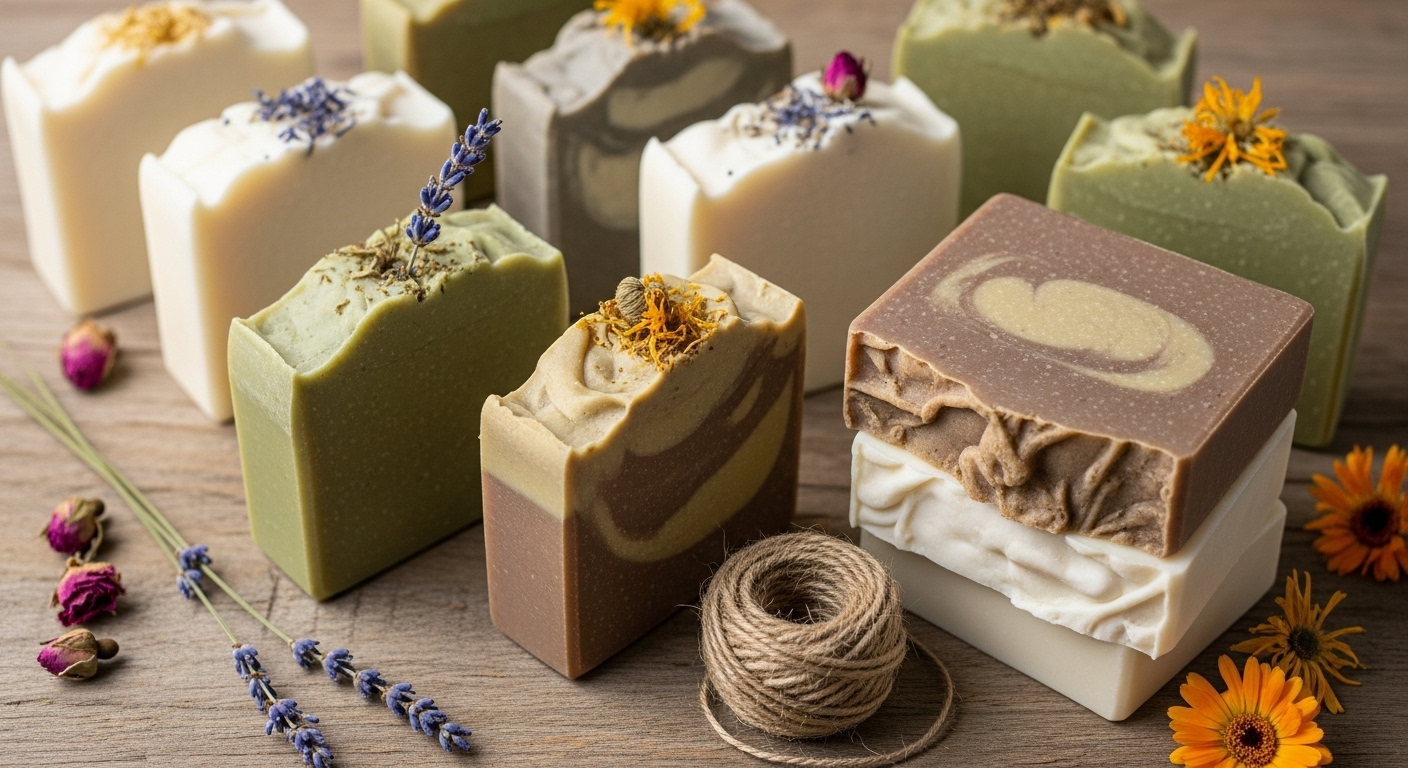
Cold process soap is one of the most time-honored, flexible ways to make your own soap. It uses simple, natural ingredients—like plant oils and lye—to create a bar that’s gentle, long-lasting, and customizable.
What Is Cold-Process Soap?
Cold process soap is made by combining fats (oils or butters) with a lye (sodium hydroxide) solution. A chemical reaction called saponification turns the mixture into soap and glycerin, all without applying extra heat. The soap then cures for weeks so it hardens and becomes mild for your skin.
Ingredients
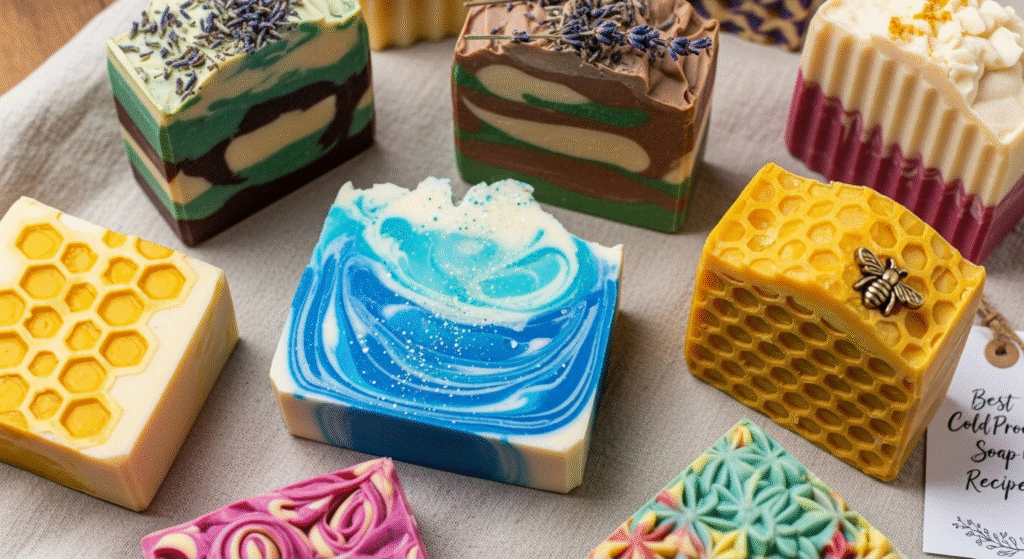
Here’s a balanced, beginner-friendly cold process soap recipe:
- 450 g Olive Oil
- 315 g Coconut Oil
- 135 g Cocoa Butter
- 250 g Distilled Water
- 130 g Sodium Hydroxide (lye)
- 30 ml Orange Essential Oil (or any essential oil you like)
- 20 g Orange mica powder (optional, for color)
Equipment You’ll Need
- Digital kitchen scale
- Infrared or candy thermometer
- Stick blender / immersion blender
- Two heat-safe pitchers or bowls (one for lye solution, one for oils)
- Silicone, wooden, or stainless-steel spatulas
- Soap mold (silicone molds are easiest)
- Safety gear (gloves, goggles, long sleeves)
Step-by-Step Instructions
- Prepare your workspace
- Clear and cover your surface with newspaper or disposable covering.
- Put on your goggles, gloves, and long-sleeve clothes.
- Make the lye solution
- Weigh 130 g sodium hydroxide in one container.
- Weigh 250 g distilled water in another.
- Slowly pour the lye into the water (never the other way), stirring gently until it dissolves.
- The mixture will heat up quickly. Set it aside in a safe spot to cool.
- Prepare your oils
- Weigh olive oil, coconut oil, and cocoa butter.
- Melt the coconut oil and cocoa butter gently (double boiler or microwave), then stir in the olive oil.
- Let the oil mixture cool to about 35–40°C (95–104°F).
- Match temperatures
- Once both lye solution and oils are cooled to a similar temperature (ideally within 10°F/5°C), you’re ready to combine.
- Mix to trace
- Slowly pour the lye solution into the oils while blending with a stick blender in short bursts.
- Continue until you reach light trace: the mixture thickens and when you drizzle it on the surface, it leaves a faint trail.
- Add fragrance and color
- Stir in your essential oil and, if using, your mica powder. Mix gently but thoroughly.
- Pour into mold
- Pour the soap batter into your prepared mold.
- Tap the mold lightly to remove any air bubbles.
- Cover the mold with parchment paper or a sheet, then wrap a towel around it to insulate (this helps encourage the gel phase for a smoother color).
- Let it set
- Leave the soap in the mold for 24–48 hours or until it feels firm enough to unmold.
- Unmold and cut
- Take the soap out and slice it into bars. Use a bench scraper or a serrated knife.
- Cure the soap
- Place the bars in a well-ventilated area, spaced apart.
- Let them cure for 4–6 weeks. During this time, water evaporates, making the soap harder and milder.
Tips & Variations
- To make a palm-free bar, you can replace palm oil with more olive oil or shea butter.
- Try different essential oils: lavender, peppermint, tea tree, citrus — whatever you like.
- Use natural colorants: clays (like bentonite or French green clay), activated charcoal, turmeric, or spirulina.
- For gentle exfoliation, add ground oats, coffee grounds, or dried herbs.
- If you want a firmer bar, increase the percentage of harder oils or use sodium lactate (if your recipe supports it) to speed up hardening.
Substitutions, Storage & Make-Ahead Tips
Substitution Ideas
- Butters: Swap cocoa butter with shea butter for a creamier bar.
- Liquid oils: Try sweet almond oil, sunflower oil, or avocado oil.
- Lye: If you want liquid soap instead, you’d use potassium hydroxide (KOH) instead of sodium hydroxide.
Storage Tips
- Cure soap in a cool, dry place with good air circulation.
- Once cured, store soap in a breathable box (paper or cardboard), not sealed plastic — this helps prevent moisture buildup.
- If you want to make soap ahead, you can unmold, cut, and wrap each bar before full cure. Then unwrap during curing to allow airflow.
Serving / Use Suggestions
- Use your handmade soap for hand-washing, body wash, or even shaving.
- Gift bars: wrap them in paper or cloth for a simple, natural present.
- Customize for skin: for dry skin, increase superfat slightly; for a richer lather, use more coconut oil.
Common Questions (People Also Ask)
Do I really need lye? Yes — lye (sodium hydroxide) is required for the saponification reaction in true cold process soap.
Is cold process better than melt and pour? Cold process gives you full control over ingredients, natural glycerin, and custom oils. Melt-and-pour is easier, but it’s pre-made.
Why does my soap crack or overheat? That can happen if it’s well-insulated (too much heat) or if additives like milk or honey speed up the reaction. Reddit
What is “superfat”? Superfatting is when you deliberately leave a percentage of extra oils in the recipe so not all get converted by lye. This makes the soap more moisturizing.
Final Thoughts
Making cold process soap is not just a craft — it’s a way to bring simple, natural ingredients into your daily routine. With a little care, patience, and respect for safety, you’ll end up with beautiful, skin-loving bars that you made yourself. Whether you stick to the classic recipe above or experiment with butters, oils, and colors, every batch is a chance to learn.